
There comes a moment in every third-grade classroom when we draw a circle, split it into pieces, and realize fractions are either about to click beautifully—or get tangled up fast. If you teach 3.NF.A.1, you already know the difference often comes down to one big idea: equal parts. Before our students can compare fractions, place them on number lines, or make sense of equivalent fractions later on, they need a rock-solid understanding that a fraction names equal parts of one whole.
That’s the heart of 3.NF.A.1, and it’s worth slowing down for. When we take time to build the meaning of the numerator, denominator, and the models behind them, we save ourselves a lot of reteaching later. In this post, we’ll unpack what 3.NF.A.1 really asks students to understand, the models that make it stick, and a quick check that surfaces the misconception that costs us the most time.
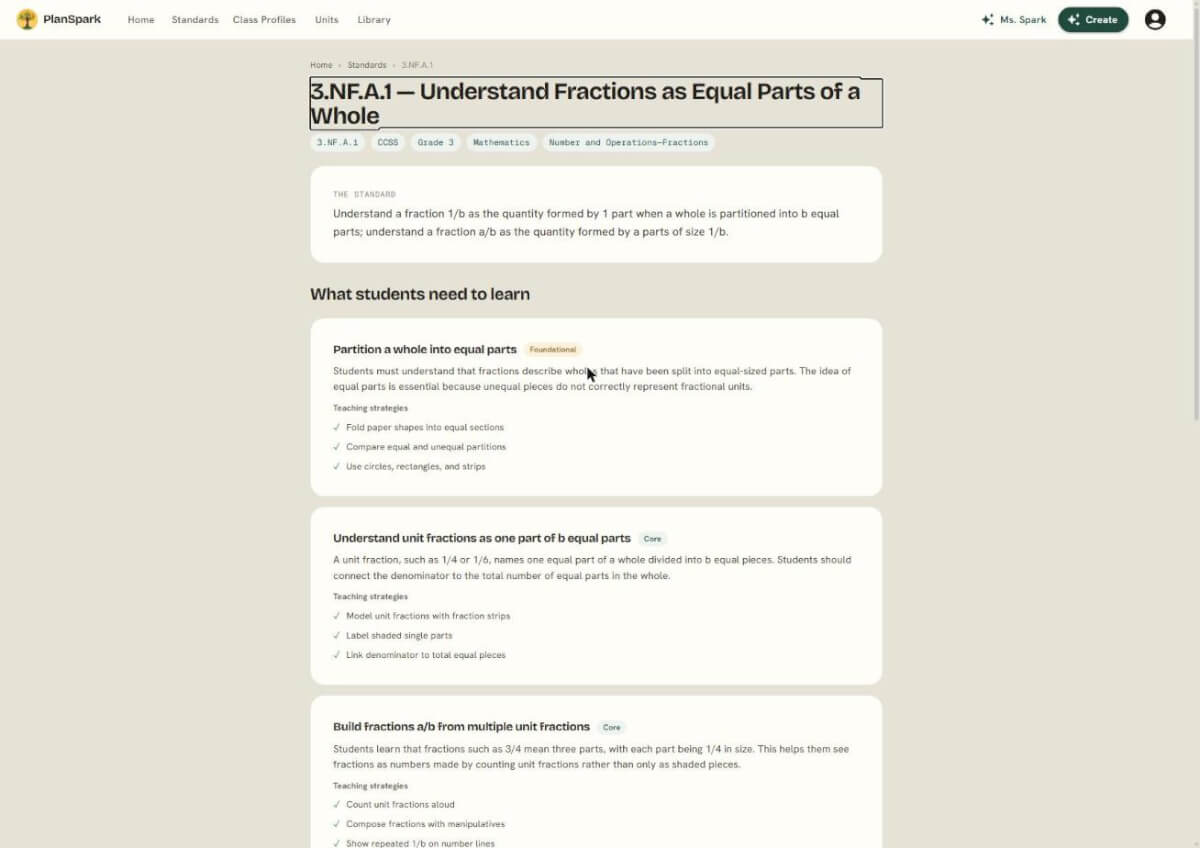
If you want the standard language and teaching moves laid out clearly, PlanSpark offers both the in-app Standards Unpacker and a free 3.NF.A.1 standard breakdown you can use while planning.
What 3.NF.A.1 really means
The official language of 3.NF.A.1 asks students to understand a fraction 1/b as the quantity formed by one part when a whole is partitioned into b equal parts, and to understand a fraction a/b as the quantity formed by a parts of size 1/b.
That is precise math language, but in classroom terms, we’re really teaching three connected ideas:
- A fraction describes parts of one whole.
- Those parts must be equal.
- The denominator tells how many equal parts the whole is split into, and the numerator tells how many of those parts we are naming.
For third graders, this is a conceptual shift. Up to this point, many students think of numbers mostly as counts of objects: 3 apples, 8 cubes, 12 pencils. Fractions ask them to think about a number as a quantity that can be built from equal-sized parts. That is new territory.
What students should be able to say
By the end of initial instruction, we want students saying things like:
- “One-fourth means one out of four equal parts of the whole.”
- “The denominator is 4, so the whole is partitioned into 4 equal parts.”
- “The numerator is 3, so we have 3 parts of size one-fourth.”
- “This shape is not divided into fourths because the parts are not equal.”
That last statement matters more than we sometimes realize.
The misconception that costs the most time: counting unequal parts as fractions
If I had to pick the misunderstanding that creates the most cleanup later, it would be this one: students see a shape split into pieces, count the pieces, and name a fraction without checking whether the parts are equal.
For example, a rectangle is divided into four sections, but one section is much larger than the others. A student says, “Three-fourths is shaded,” because three of the four sections are shaded. The counting is accurate. The fraction is not.
This happens because students naturally focus on the number of pieces before they focus on the size of the pieces. And honestly, that makes sense. We’ve trained them for years to count objects. With fractions, we have to retrain their attention: equal-sized parts first, count second.
A teacher move that helps
When you introduce any area model, build in the same question every time:
“Are the parts equal?”
Say it before asking:
- What fraction is shaded?
- How many parts are there?
- What does the denominator tell us?
That simple routine keeps students from jumping straight to counting. Over a week or two, it becomes an internal habit.
A quick check that surfaces the misconception fast
Here’s a quick formative check you can use right after the first lesson:
- Draw three shapes.
- Partition one into 4 equal parts.
- Partition one into 4 unequal parts.
- Partition one into 3 equal parts, with 1 part shaded.
Then ask:
- “Which models show fourths?”
- “Which model does not show a fraction correctly? Explain why.”
- “In which model is one-fourth shaded?”
This reveals very quickly who is still counting pieces instead of reasoning about equal parts. It also gives students a chance to explain their thinking in words, which strengthens the concept.
If you want to follow that first lesson with a standards-aligned check for understanding, you can generate one using PlanSpark's Assessment Generator. A short exit ticket or five-question check can tell us exactly who is ready to move on to more abstract models.
Start with one whole—and keep the whole consistent
Another quiet trouble spot in 3.NF.A.1 is the meaning of “the whole.” Students may look at two different shapes and assume a fraction means the same amount no matter the size of the whole. That’s why it helps to keep the whole explicit from day one.
Try language like:
- “This entire rectangle is one whole.”
- “This circle is the whole.”
- “If the whole changes, the fraction amount can change too.”
In early lessons, use matching wholes whenever possible. If you are comparing examples and non-examples, keep the shapes the same size so students can focus on equal partitioning. Once the concept is stable, then vary the shape and size of the whole intentionally.
The models that make fractions stick
For 3.NF.A.1, the sequence of models matters. We want students to see fractions in concrete, visual ways first, then move toward representations that support later work in comparison and number sense. A strong progression is:
- Fraction circles and familiar area models
- Rectangles and tape diagrams
- Number lines
Each model highlights something slightly different, and together they build a fuller understanding of fractions.
1. Fraction circles and area models: great for the first mental picture
Fraction circles, paper folding, and shaded shapes are a natural entry point because they are visual and intuitive. Students can literally see a whole broken into equal parts. This is where we introduce vocabulary like halves, thirds, fourths, sixths, and eighths.
Useful teacher prompts include:
- “How many equal parts is the whole divided into?”
- “What does the denominator tell us here?”
- “How many of those parts are shaded?”
- “What unit fraction is one part?”
At this stage, I like to mix examples and non-examples constantly. Show a circle split into equal fourths next to a shape split into four unequal pieces. Let students defend which one shows fourths and why.
Just one caution: circles are excellent for launching the concept, but if we stay there too long, students may come to believe fractions only live in pizzas and pies. We need to broaden the model fairly quickly.
2. Tape diagrams and rectangles: where precision improves
Rectangles and tape diagrams are especially helpful because they make equal partitioning easier to see and draw. They also set students up for later fraction comparison and operations in upper elementary grades.
A tape diagram is simply a bar model representing one whole, partitioned into equal parts. For third graders, it offers several benefits:
- The whole is clear.
- Equal parts are easier to judge than in some circles or irregular shapes.
- Students can label each part as one-third, one-fourth, and so on.
- The move to “three parts of size one-fourth” becomes more concrete.
For example, draw one bar and partition it into 5 equal parts. Shade 2. Ask:
- “What fraction is one part?”
- “How do you know the denominator is 5?”
- “What does the 2 in two-fifths represent?”
Students begin to see that 2/5 is not just “2 and 5 together.” It is two pieces, and each piece has a size: one-fifth.
3. Number lines: where fractions become numbers
This is the move we do not want to skip. Area models help students see fractions as parts of shapes. Number lines help them understand fractions as numbers with a location and magnitude.
That shift is huge.
On a number line from 0 to 1, if we partition the interval into 4 equal lengths, each length is one-fourth. The point at the end of one part is 1/4. The point at the end of three parts is 3/4. Now students can connect the definition directly: a/b is a parts of size 1/b.
Some students who seem comfortable with shaded models get wobbly on number lines. That is normal. It means they were relying on “pieces of a picture” and now need to think about distance from zero. We can support them by connecting the models side by side.
Try this sequence:
- Show a rectangle partitioned into 4 equal parts with 3 shaded.
- Show a matching tape diagram labeled in fourths.
- Show a number line from 0 to 1 partitioned into 4 equal intervals.
- Ask students what stays the same across all three models.
The answer we want: the whole, the equal partitioning, the unit fraction, and the quantity three-fourths.
How to explain numerator and denominator without making it abstract too soon
Third graders do not need a lecture on fraction notation. They need repeated, concrete language tied to models.
Try this pattern:
- Denominator: “How many equal parts is the whole divided into?”
- Numerator: “How many of those equal parts are we talking about?”
Then connect it back to the unit fraction:
“If the denominator is 6, each part is one-sixth. If the numerator is 4, we have four one-sixths, or four-sixths.”
That wording matters because it keeps the focus on fraction quantity, not just symbol reading.
A sentence frame students can use
“The whole is divided into ___ equal parts, so each part is ___. There are ___ of those parts, so the fraction is ___.”
This works beautifully in math talk, partner conversations, and written responses.
Practical lesson moves for the first week of fraction instruction
Use examples and non-examples every day
Show models that represent fractions correctly and models that do not. Ask students to sort them. This keeps the equal-parts idea front and center.
Have students build before they name
Give strips of paper, pattern blocks, folding tasks, or pre-drawn bars. Ask students to partition wholes into equal parts themselves. Creating the model often builds stronger understanding than only reading one.
Keep asking, “What is the whole?”
This prevents confusion later when students work with different-sized shapes or multiple objects.
Connect models on purpose
Do not treat circles, bars, and number lines as separate lessons with separate meanings. Keep linking them so students see the same fraction across representations.
Use quick sketches, not perfect art
We do not need beautiful anchor chart circles to teach strong math. Clear rectangles, bars, and number lines often communicate the concept better and faster.
Planning 3.NF.A.1 with the end in mind
When we plan for 3.NF.A.1, it helps to ask: what evidence will show that students truly understand the standard?
Look for students who can:
- Identify whether a model is partitioned into equal parts
- Name unit fractions and non-unit fractions from visual models
- Explain the roles of the numerator and denominator
- Represent the same fraction with circles, tape diagrams, and number lines
- Reject unequal partitions as valid fraction models
That’s where a clear unpacking tool saves planning time. If you want support mapping the standard to learning targets, misconceptions, and aligned tasks, the Standards Unpacker is built for that work. And if you want a free reference to keep open while lesson planning, the 3.NF.A.1 standard breakdown is a helpful place to start.
Why this standard deserves an extra day if students need it
Fractions are one of those topics where speed can look productive in the moment but create bigger gaps later. If students do not truly understand equal parts of a whole in 3.NF.A.1, then comparing fractions, generating equivalent fractions, and reasoning on number lines all become harder than they need to be.
So if your class needs another day with folding paper, sorting examples and non-examples, or moving from tape diagrams to number lines, that is time well spent. We are not delaying the “real” math. We are teaching the foundation that makes the real math possible.
As you plan your first fraction lessons, keep it simple and concrete: one whole, equal parts, clear models, and lots of student explanation. And after that first lesson, use a brief aligned check—especially one that includes unequal partitions—to see who is truly ready for the next step. If you want a quick way to create that check, PlanSpark's Assessment Generator can help you build standards-aligned questions for 3.NF.A.1 in just a few minutes.
We all know fractions can feel big at first, for students and teachers alike. But with the right models and a steady focus on equal parts, our third graders can build understanding that lasts. Take a look at the free 3.NF.A.1 standard breakdown, choose one strong quick check, and give yourself permission to teach this standard with patience. The payoff shows up all year long.